Finger & Thumb Print Taking Protocol
1. Select The Best Print
Study the deceased’s thumb for the most distinctive and clearest lines. If the thumb does not offer a good print, feel free to use a finger.
*Important Note*
Take prints before embalming.


2. Ink
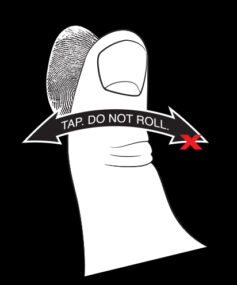
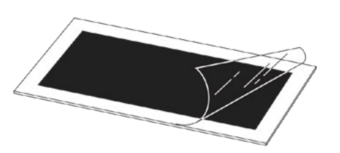
If you are using the print supplies that we provide peel the protective coating from the ink strip, lightly tap the selected area on the newly exposed ink side of the strip.
You can also use your own supplies, or order our free supplies here.
3. Create Print
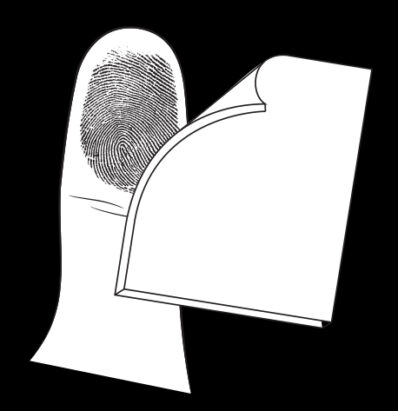
Practice making one or two impressions by lightly touching the inked area onto a piece of paper. When you are satisfied with the clear print lines captured, re-tap the inked area onto the ink and duplicate the technique onto the “Imprint” boxes on the supplied order form, or on clean white paper.
Repeat this step in all boxes (or at least 5 times on your own white paper), striving to provide an image that presents clear lines, no smudges, and high contrast between the dark and light spaces.


4. Clean The Affected Area
After creating your impressions, clean the imprinted area of the deceased with one of the cleaning pads provided, or use any alcohol-based cleaning pad.
Print too light.
A result of too little ink or pressure.

Good Print.
A result of proper ink and pressure.

Print too dark.
A result of too much ink or pressure.


